
/ Posts, Products / By daniel kasamis
As mentioned in our previous post, we think SavvyCAN developed by Collin Kidder is the best open-source cost per channel software tool for CAN bus sniffing. Finally, we have spent some time bringing the CANFDuino and the GVRET protocol for SavvyCAN up to speed to handle CANFD messages from 2 ports.
With these updates on GitHub, you can now sniff 2x CANFD busses with SavvyCAN and CANFDuino for less than $150! It’s worth noting that the configurability of the FD settings and message in SavvyCAN’s GVRET are not fully baked in yet so right now it looks like it’s coded for 2Mb CANFD speeds, which seem to be the most common combination for CANFD automotive networks anyway. We will continue to contribute to this project and there is a bit of a work around at the moment. The current implementation has been tested with 2MB/500kb baud and sample rates per SAE standard J2284-5 . It’s also worth noting that all of the standard CAN bauds still work and apply, since all of the standard CAN bus frames are compatible with CANFD you can sniff either bus with the FD settings enabled (just don’t transmit an FD message on a standard bus).
You want to get sniffing with 2xCANFD busses & SavvyCAN? Follow the steps below:
Step 1 – Install, Build & Verify
Do everything in the getting started section of the git repo readme file to make sure all software and hardware is working properly Hook up the CAN/FD ports to the buss(es) you want to monitor..
Step 2 – Program CANFDuino with the firmware
Open ArduinoIDE, go to File->Examples->CANFDuino_SavvyCANFD.ino. Upload it with the IDE and once complete place a jumper on “NO BOOT” pin to bypass the bootloader when the device is reset (see hookup guide).
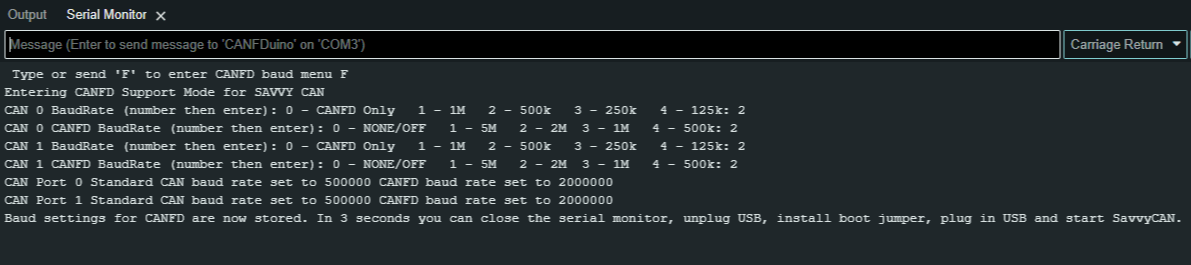
OPTIONAL: We did build in a terminal interface for configuring the baud rates for CANFD and traditional CAN. If you want to pre-configure your unit before connecting to SavvyCAN, do NOT place the jumper on the NO BOOT pin and open up the serial monitor window in the ArduinoIDE with a 2MB serial port baud rate, and “carriage return” when pressing enter. Follow the on-screen prompts and type your responses (should only be a single number) followed by the return key until all of the baud rates are set. Now place the “NO BOOT” jumper on and power cycle (unplug USB, plug back in). See below, 2,2,2,2 results in both ports set for 500k/2MB CANFD. This does enable FD rates beyond 2MB.
Step 3 – Get SavvyCAN
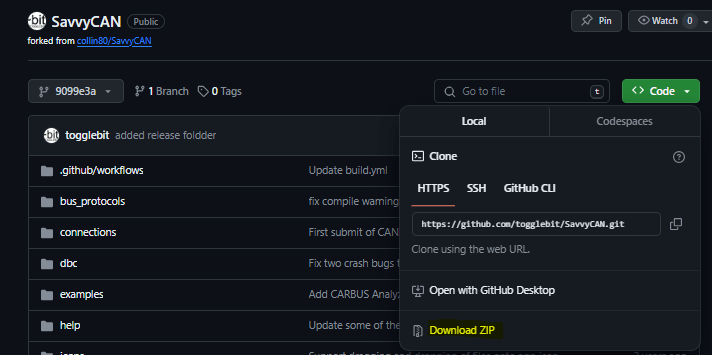
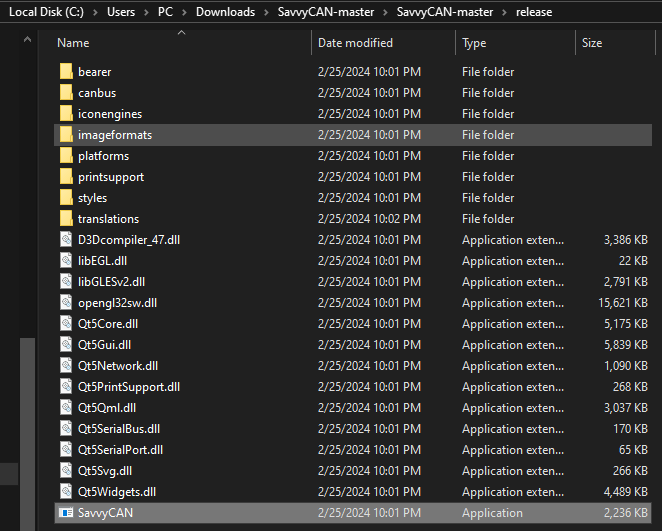
Download our modified build of SavvyCAN from GitHub (Windows build only right now). The entire codebase can be downloaded, with the windows executable located in the “release” folder. Additionally, you can watch Youtube videos on how to use SavvyCAN.
Step 4 – Connect to CANFDuino
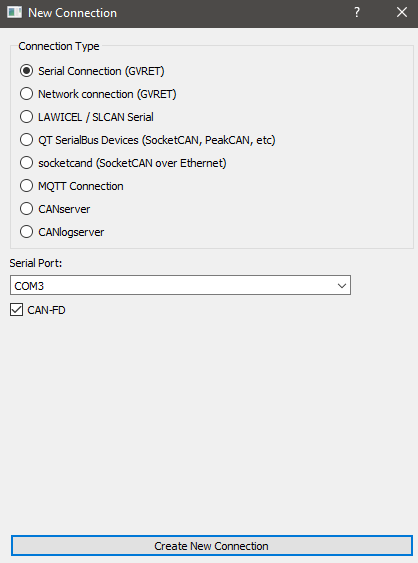
In SavvyCAN open the connection window, “Click Add New Device Connection”, select “enable console” to see the serial traffic including the heartbeat, click select “serial connection” and you should see a COM port present corresponding to the CANFduino, select “CAN-FD” checkbox then click “create new connection“.
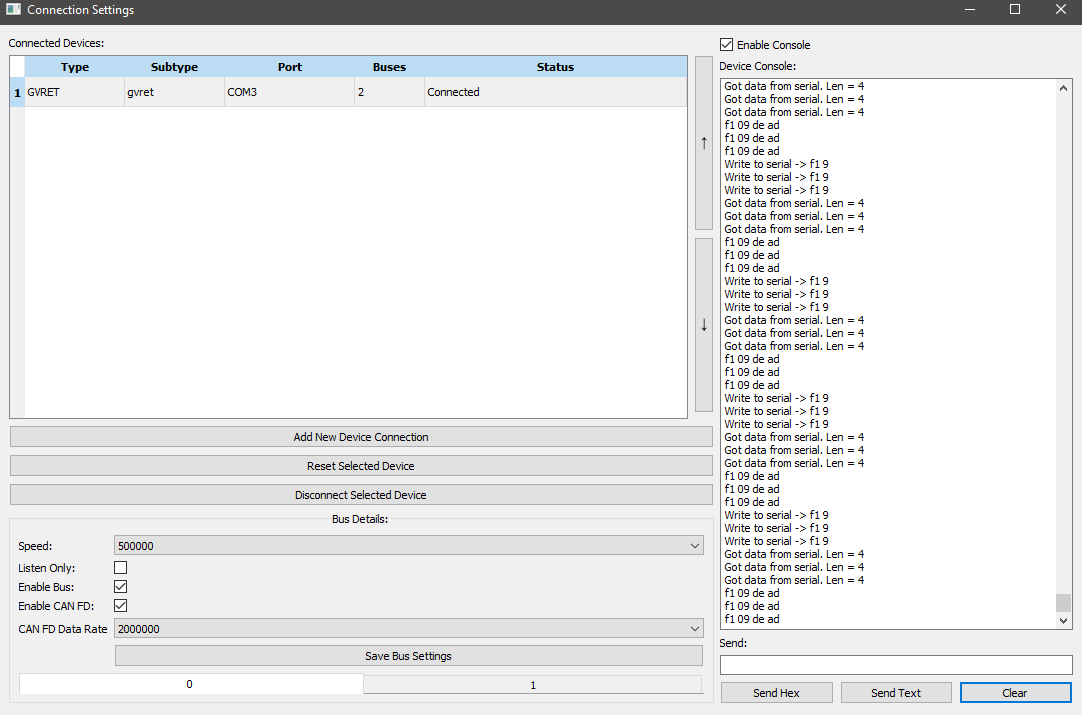
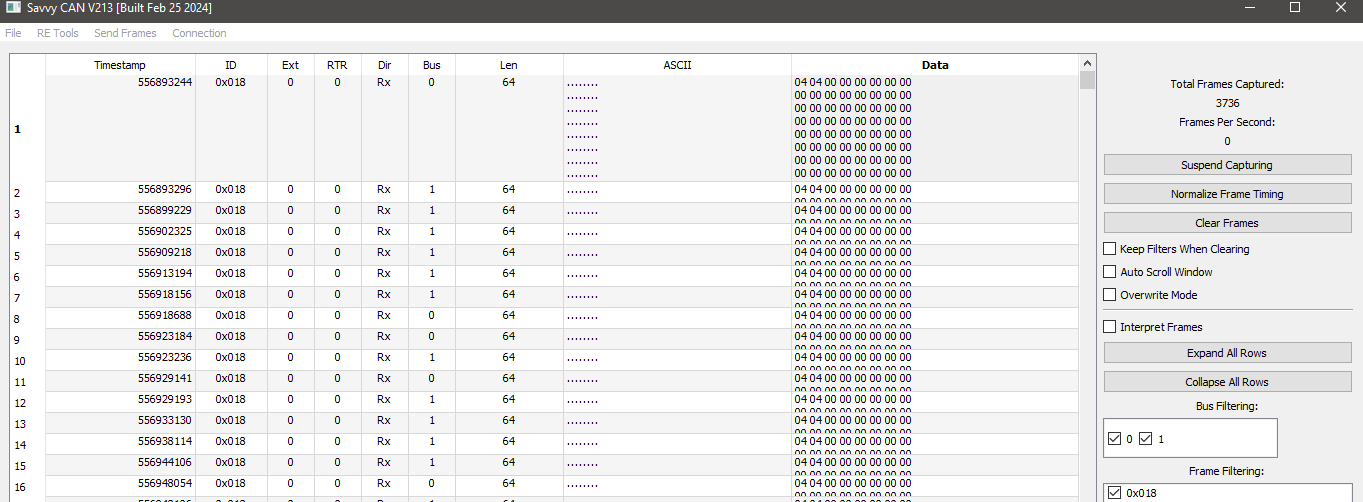
You should see messages confirming data tx/rx over the serial port in the console window. If you precofigured your baud rates and port settings in the Arduino IDE they will appear here. If there are no bau rate sttings, for CAN0 and CAN1 shown in the bottom tabs select “enable bus”, “enable CANFD” and select the standa”rd CAN “speed” and CANFD “baud rate” you wish to monitor from the drop down list. For each bus tab, click”save bus settings” (remember do this for both tabs after you set the bauds etc) then click on the GVRET device and check the status. It may say “connected” but if you may have no traffic in the console window click “reset selected device” to reset the CANFDuino with the new baud rates. The status will change from “not connected” to “connected” and traffic will reappear in the console window (clickclear to ensure there is traffic). The baud rates will now be remembered and you do not need to reprogram the device baud settings each time you want to use SavvyCAN. If you are connected to a bus, you should see packets coming in the serial window, close this window to see the bus traffic in the main window.
Step 5 – Start Sniffing a Bus
Ok now that we are connected time to connect to your CAN bus(s) and start sniffing. Remember you’ll want to understand where the terminations are and observe proper wiring in your network and if you need to enable one on your CANFDuino. You should now see traffic in the main window and the source of that traffic (CAN 0 or CAN 1). Note you will see longer messages on a CANFD bus of up to 64bytes! Really huge props to Collin Kidder for developing such a powerful tool for the community!